How to use the Email Control Gem
The email control gem is the new way to manage 2020Media mailboxes. This guide is aimed at showing customers how to use the system.
Getting Started
The email control gem is accessed from within the customer portal. Login using your customer login at https://pfs.2020media.com(link opens in new window). Next, click My Gems. If the email control gem is enabled for you, you will see the icon shown here to the right.
Can’t see the icon? You need to request access. Click My Tickets and open a request for “Email Control Gem”. Remember to quote your domain name.
View Current Email Settings
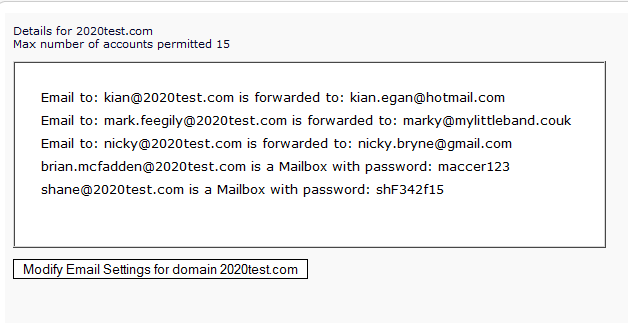
Once you click on the email control gem, you will see a list of existing email accounts like so:

The information shown can be used to setup the email account in your chosen email software, or via our webmail service.
Modify, Delete, Add Email Accounts
Click the modify link beneath the list of existing accounts.

This page allows you to modify, delete and add email accounts all in one page – saving you time when updating your email.
The first section allows to to make modifications or delete existing accounts.
Existing Account Modification
![]() The icons are used to Modify or Delete the existing account.
The icons are used to Modify or Delete the existing account.
Delete icon – remove the account. If you delete an account by accident, click the Abort button at the bottom of the page.
Modify icon – Enter a new forwarding destination, or mailbox password.
Add Forwarding
Click the green Plus icon to add email forwarding. Enter the source address on the left and the destination email address on the right. This can be a completely seperate address like something@hotmail.com, or a local address, if you want to create aliases for a mailbox.

Add Mailbox
Click the green Plus icon to add new mailboxes. Enter the account name on the left, and a password of your choice on the right.

Check and Save Changes
Once you are happy with your changes (and remember you can abort the changes if you wish), click the Update button at the bottom of the page.

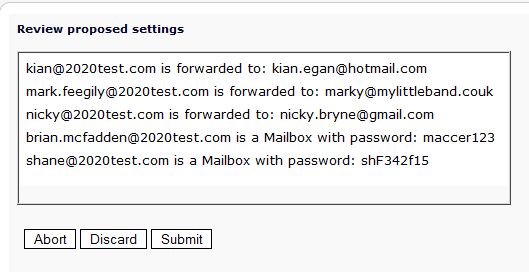
When you click the Update button, you will see a page with the changes you’ve just made. Use this to double check all is as you wish, and to make a note of the new mail accounts. From this page you can Abort, Discard or Submit your changes.
- Abort takes you back to the first page, cancelling all changes.
- Discard allows you to reenter your modifications.
- Submit sends the changes you have made to the email configuration service.
Once the proposed changes have passed our verification service they will be live.This checking process can take a few minutes or more, depending on the time of day and number of requests in the queue. A random sample are checked by our engineers to make sure there are no problems.
We welcome your feedback – please contact us with any comments or suggestions.

